
Set up your booking page
For anyone getting ready to take bookings. Claim a handle, connect your calendar and conferencing, and set the values new event types start from. Everything here lives on the Settings tab.
Claim your handle
Your handle is the word after /book/ in your personal booking address. You need one before any personal event type gets a shareable link.
- Open Scheduling → Settings, or click Claim your booking handle in the page header.
- Under Your handle, type a handle after the /book/ prefix, for example jane. Use lowercase letters, digits, hyphens, underscores or dots, at least two characters.
- Click Claim handle. A Handle saved message confirms it.
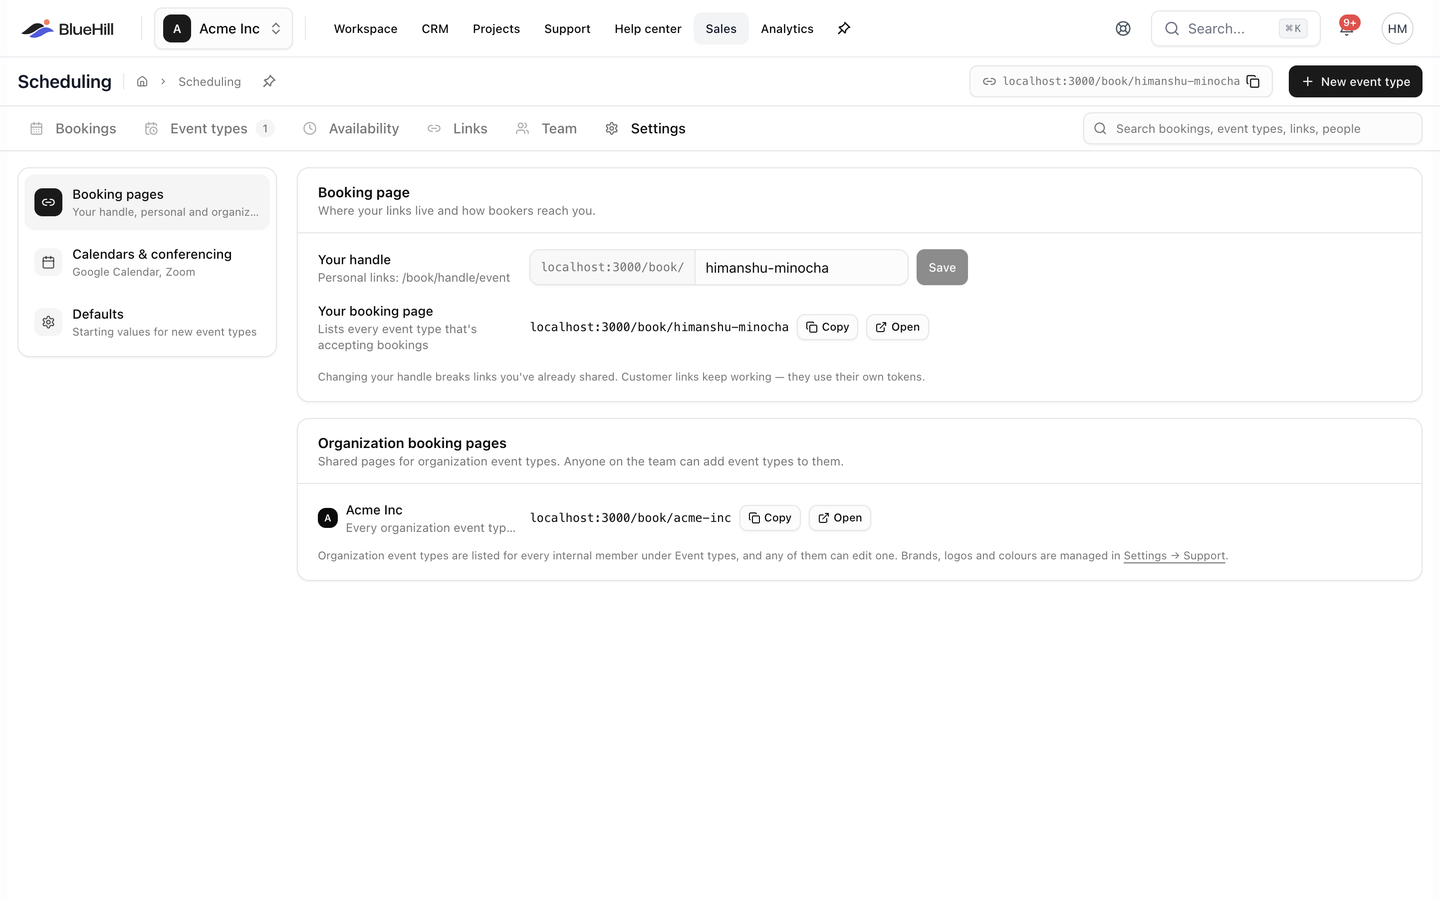
To change a handle later, edit the field and click Save.
Tip: Changing your handle breaks links you have already shared. Customer links keep working, because they use their own tokens. See Customer links and embed.
Your booking page
Your booking page shows your personal address, /book/your-handle, with Copy and Open buttons. The page lists every one of your personal event types that is accepting bookings, so a booker can pick the meeting they need. Until you claim a handle, the row reads Claim a handle to get a public booking page.
Tip: Your handle belongs to you rather than to one workspace, so if you are a member of several workspaces your page lists your personal event types from all of them.
Organization booking pages
Internal team members also see Organization booking pages. These are shared pages for organization event types, and anyone on the team can add event types to them.
- The organization row lists every organization event type that is accepting bookings, at /book/your-organization.
- When your workspace has more than one brand, each brand has its own row, at /book/your-organization~brand. A brand row reads Appears once an event type uses this brand until an organization event type is filed under it.
- Brands, logos and colours are managed in Settings → Support.
Connect Google Calendar and Zoom
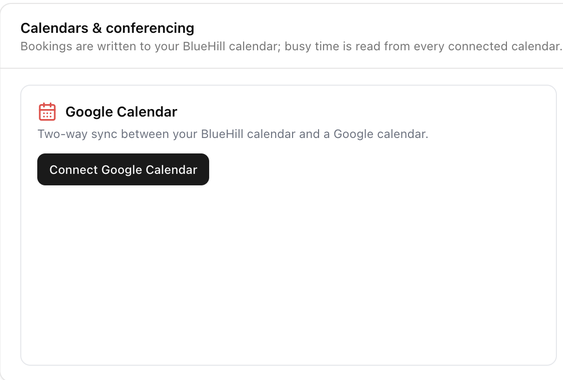
Open Calendars & conferencing. Bookings are written to your BlueHill calendar, and busy time is read from every connected calendar.
| Card | What to do | What it gives you |
|---|---|---|
| Google Calendar | Click Connect Google Calendar and sign in. Once connected, choose the Synced calendar. | Busy time on that calendar hides those slots from bookers, and event types that meet on Google Meet get a Meet link. |
| Zoom | Click Connect your Zoom and sign in. You can add more with Connect another Zoom account; the first one is marked Default. | Event types that meet on Zoom get a meeting link on that account. An event type or a customer link can pick which account to use. |
The Zoom card also offers an organization-wide setup with Account ID, Client ID, Client Secret and an optional Host email, then Connect organization Zoom and Test. This is for admins whose company uses one Zoom app for everyone; most hosts connect their own account instead.
Tip: Connect Zoom or Google before you share an event type that meets there. Without a connection, the booking still goes through but no join link can be created.
Defaults for new event types
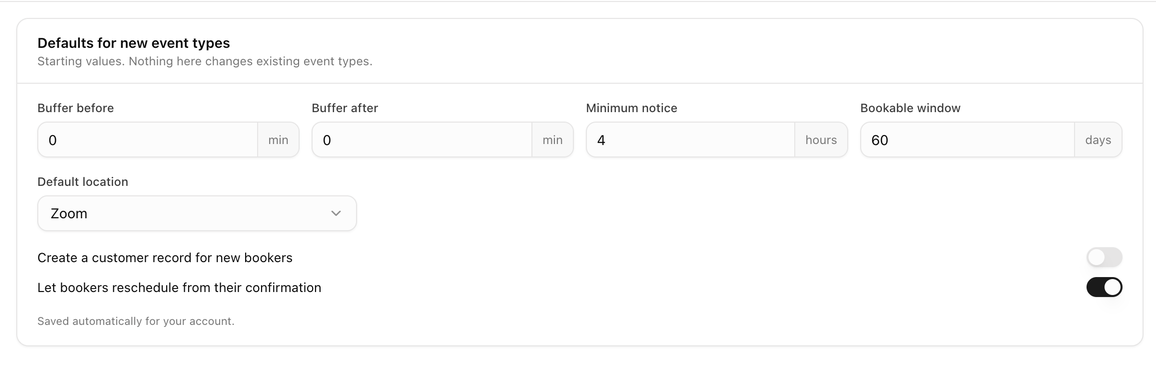
Defaults for new event types sets the starting values the editor fills in when you create an event type. Nothing here changes existing event types, and the choices are saved automatically for your account.
| Setting | Starts as | Meaning |
|---|---|---|
| Buffer before | 0 min | Gap kept free before each booking. |
| Buffer after | 0 min | Gap kept free after each booking. |
| Minimum notice | 4 hours | How soon from now the first bookable time can be. |
| Bookable window | 60 days | How far ahead bookers can pick a time. |
| Default location | Zoom | Where new event types meet. |
| Create a customer record for new bookers | Off | Adds bookers to Customers when their email does not match one. |
| Let bookers reschedule from their confirmation | On | Gives bookers a reschedule link on their confirmation. |
Each of these can be changed per event type. See Hosting, schedule and limits.
Next: Set your availability.